Sway bars are one of the most commonly overlooked parts of an RC car setup. They look simple — a thin bar, a couple of collars, some small end links — and it's easy to assume they're "good enough" right out of the box. But if your sway bars aren't set correctly, they can be actively fighting your suspension instead of helping it.
A sway bar that's too tight creates binding, which means the bar isn't actually moving when the suspension does. A bar that's too loose has so much slop that it isn't transferring any load at all. Either way, you're not getting the handling you paid for. Getting this right is a small job that makes a real difference on the track.
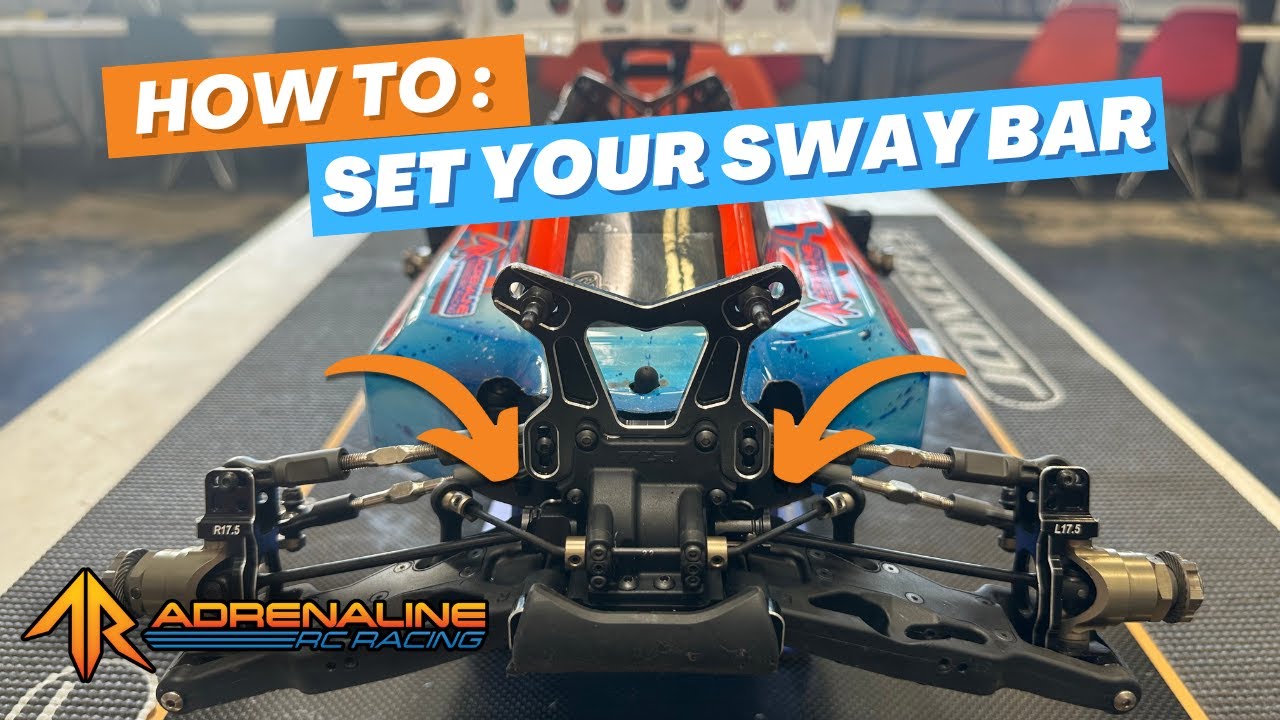
In this guide, Jacob Hardison from Adrenaline RC Racing walks through the complete process — centering the collar, setting pinch bolt tension, and mounting the end links — so your sway bar is working exactly as it should, front and rear.
WHAT YOU'LL NEED
- Your RC car or buggy
- 1.5mm hex driver (works for most vehicles)
- 0.050" hex driver (some cars require this)
- 2.0mm hex driver (some cars require this)
Need drivers or a replacement sway bar? Shop Here.
Step-by-Step: How to Set Your RC Car Sway Bar
1. Remove the sway bar end links
Start by loosening the end link set screws and popping the end links off the sway bar entirely. You want the sway bar sitting completely free — independent of the suspension on both sides. This gives you a clean baseline to work from, whether you're setting up a new build or swapping to a different bar diameter.
2. Back out the pinch bolts
Loosen both pinch bolts on the sway bar collar quite a bit — not all the way out, but enough that the collar can slide and rotate freely on the bar. Starting from a fully loose position ensures both sides of your setup are calibrated from the same point, regardless of how the car was previously set.
3. Center the collar on the bar
Look at the collar — depending on your car, you'll either have a number or marking on the side or in the center. The goal is to get that marking as centered as possible on the sway bar. Some cars have the marking on the collar itself; others have it as a reference point on the bar. Center it as best you can before moving on.
4. Set the pinch bolt tension — one side at a time
This is the most important step, and it needs to be done one side at a time. Start by lifting the sway bar up with one hand. With your other hand, tighten the pinch bolt on that side until the bar stays up on its own without you holding it.
Now slowly loosen the pinch bolt — just a tiny amount at a time — until the sway bar drops freely under its own weight when you lift and release it. When you push it up again, it should drop easily with no sticking or hesitation. That's the sweet spot: the bar is held in place but still free to move.
5. Repeat on the other side
Run through the exact same process on the second pinch bolt. Tighten until the bar holds, then slowly loosen until it drops freely with minimal play. Both sides should feel identical — the same smooth drop, the same small amount of play. Don't rush the second side just because the first felt easy.
6. Mount the sway bar end links
With the pinch bolts set, slide the end links back onto the sway bar. Before tightening anything, look at the end link from the side — you want it to stand as straight up and down as possible. Too far forward or backward will create binding, which defeats everything you just set up.
Rotate the set screw so it's facing outward and slightly toward the outside of the car. This makes it easy to access later without having to remove your shock or camera links. Once the end link is positioned straight and without bind, tighten the set screw down.
7. Verify the setup and do the rear
Give the setup a quick check: lift one side of the car. If your sway bar is set correctly, the opposite side will lift with it. That's your confirmation that the bar is actually doing its job — transferring load across the axle.
Now repeat this entire process on the rear sway bar. Same steps in the same order: center the collar, set pinch bolt tension, mount the end links straight and bind-free.
Common Mistakes to Avoid
Setting both pinch bolts at the same time. Working one side at a time lets you dial in each side independently. If you tighten both together and the bar isn't perfectly centered, you can end up with one side slightly tighter than the other — and you won't feel it until you're chasing handling issues at the track.
Too tight is worse than too loose. If the pinch bolt is even slightly overtightened, the collar binds on the bar and the sway bar stops functioning. The whole point of a sway bar is that it moves. A bound sway bar is a fixed chassis brace — not what you want.
Not checking for binding at the end links. Even if your pinch bolts are perfect, an end link that isn't straight up and down will pre-load the bar and create bind. Always eyeball the end link angle from the side before locking it in.
Skipping the rear. The same handling problems that affect the front will affect the rear if the rear sway bar is set wrong. Front and rear should both get the same careful attention.
What's Next: Understanding Sway Bar Settings
Once your sway bar is set correctly, you can start experimenting with actual tuning — moving the end link position in or out, swapping to a thicker or thinner bar diameter, or adjusting the collar position. Each of these changes affects how the car rolls through a corner and how predictable it feels under power.
Jacob covers all of that in the follow-up video: what each sway bar setting actually does and how to use that knowledge at the racetrack. Keep an eye on the Adrenaline RC Racing YouTube channel for that one.
Quick recap: Loosen the end links. Back out the pinch bolts. Center the collar. Tighten one pinch bolt until the bar holds, then slowly loosen until it drops freely. Repeat on the other side. Mount the end links straight. Verify by lifting one wheel. Repeat for the rear.
That's the whole job. Once you've done it once, it takes about five minutes — and it's one of the best things you can do for your car's handling without spending a dime on new parts.