By Jacob Hardison | Adrenaline RC Racing
If you’re into RC racing — whether it’s 1/10, 1/8, or even 1/5 scale — learning how to solder properly is one of the most valuable skills you can have. A solid solder joint can literally mean the difference between crossing the finish line first or not finishing at all.
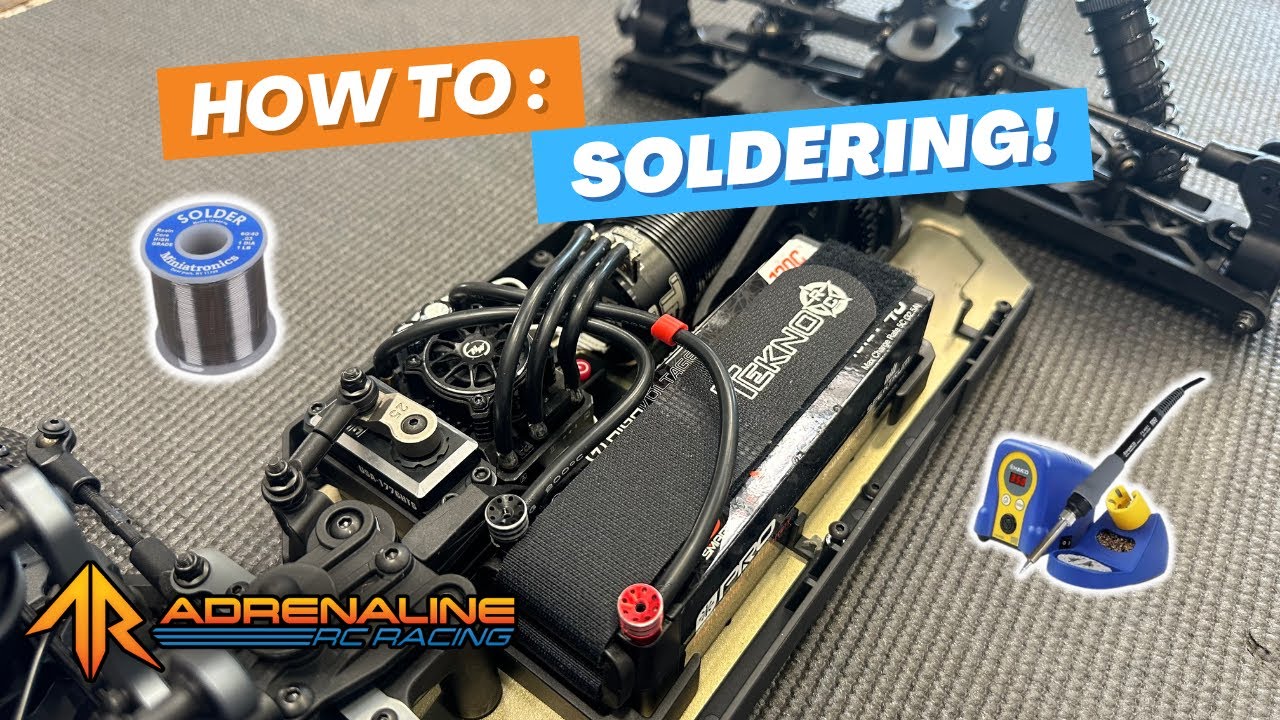
In this guide, I’ll walk you through everything you need to know to make clean, strong solder joints that will last — using a real customer build as an example.
Why Good Soldering Matters
Soldering is crucial for any electrical connection in RC racing. A poor solder joint can cause extra resistance, which turns into heat, leading to potential issues like:
-
ESC or motor overheating (thermal shutdown)
-
Wire joints breaking loose mid-race
-
Loss of power or inconsistent throttle response
In short: bad solder = bad performance.
So let’s make sure you get it right.
Tools You’ll Need
Here’s what I recommend having on hand before you start:
-
Soldering iron: I use the Hakko FX-888D
-
Wire strippers or Lexan scissors
-
Pliers
-
ESC and motor
-
Battery connectors (your preferred type)
-
The vehicle itself
Step 1: Prep Your Work Area
A good soldering setup makes all the difference. Keep your workspace clean (or at least functional!), ensure your iron is hot and has a fresh, clean tip, and have your parts laid out in front of you — ESC, wires, and solder.
Step 2: Tin Your Wires
Even if your ESC wires come pre-tinned from the factory, it’s a good idea to refresh them:
-
Dip each wire into flux to help solder flow smoothly.
-
Heat the wire from the bottom or side and apply solder from the top.
-
You want to see the solder wick through the wire and form a smooth, shiny surface.
This step ensures your wire is ready for a strong, reliable bond.
Step 3: Tin Your ESC Posts
Now let’s move to the ESC:
-
Place your iron on the base of each post to heat it thoroughly.
-
Feed solder into the top until you get a nice rounded “bubble” look.
-
Do this for all three motor posts (A, B, and C).
💡 Tip: Avoid “cold solder joints” — they happen when the solder doesn’t fully melt or flow. Always heat the post itself, not just the solder.
Step 4: Attach the Motor Wires
With both your wires and ESC posts tinned, you’re ready to connect them.
-
Place the wire onto the ESC post.
-
Heat from the wire side, allowing the heat to transfer down through to the post.
-
As the solder melts together, gently press down so the wire sinks into place.
-
Let it cool for a few seconds before moving it.
You’ll know you’ve done it right if your solder joint looks smooth, shiny, and dome-shaped — no frayed wire or uneven blobs.
Repeat this process for all three wires.
Step 5: Mount the ESC and Route Your Wires
Once the soldering is complete:
-
Mount your ESC securely (especially if space is tight, like on the Tekno buggy I worked on).
-
Keep your sensor wire clear of the driveshaft — tuck it tight and secure it so it can’t move during a run.
-
Route your battery wires neatly along the chassis for a clean, professional finish.
Step 6: Solder the Motor Leads
Time to tackle the motor:
-
Trim your wires to length — give yourself a little slack, but not too much.
-
Strip the ends, twist the strands tightly, and dip them in flux.
-
Tin the exposed wire the same way as before.
-
Add solder to the motor tabs and attach your wires — heating from the wire side again for full contact.
Each joint should have a shiny, even finish. Some motors, like the Tekin ones, have flat tabs, so you’ll get less of a bubble and more of a smooth layer — and that’s perfectly fine.
Step 7: Finish with Battery Connectors
Your battery wires are soldered the same way — just make sure:
-
The positive wire goes to the correct side (use red collars or heat shrink to mark it).
-
Both wires are trimmed evenly so the final look is tidy and the connection is strong.
Final Inspection Checklist ✅
Before you power up your RC:
-
All joints are shiny (no dull or cracked spots)
-
No stray wire strands sticking out
-
Heat shrink or protection on all exposed areas
-
Wires are neatly routed and secure
Wrapping It Up
Soldering might seem intimidating at first, but with the right tools, a little patience, and attention to detail, it becomes second nature. Clean, strong joints will not only look professional but will perform reliably on race day.
If you found this tutorial helpful, check out the full video on our YouTube channel for a full step-by-step demonstration — and don’t forget to subscribe for more RC tech tips, builds, and race coverage.