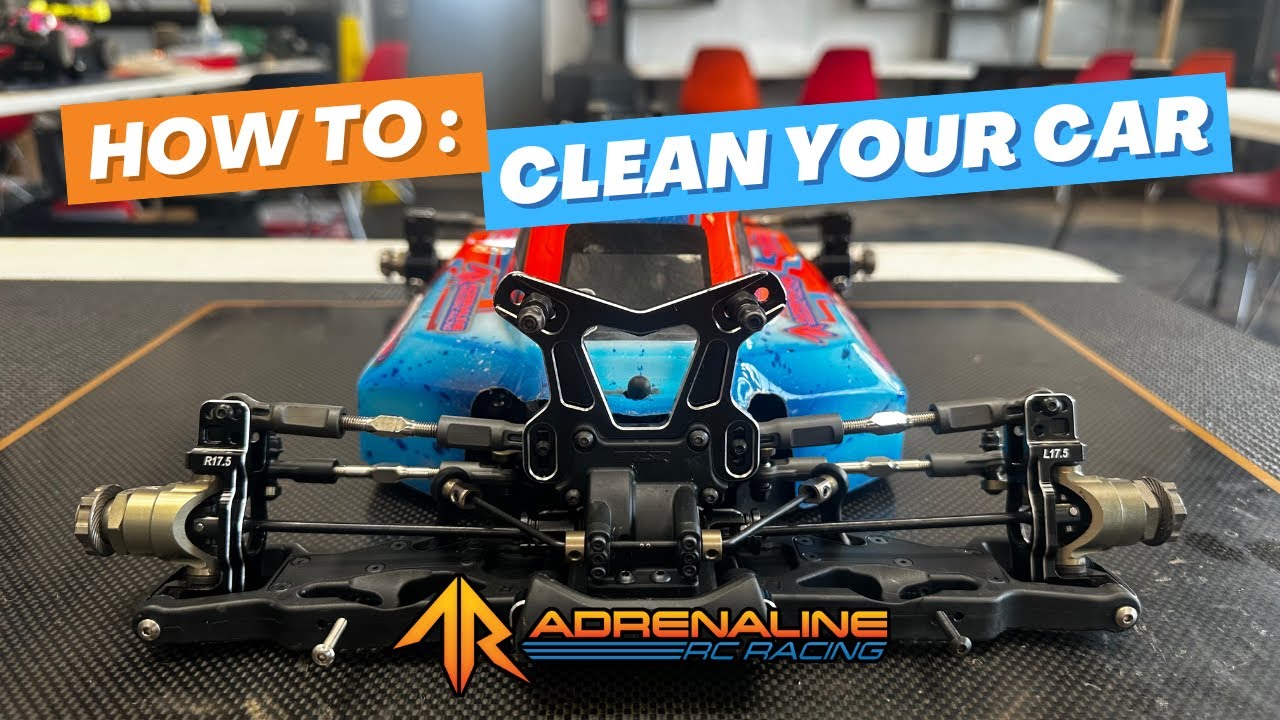
Welcome back to the Adrenaline RC Racing blog! In this installment of our Eraser Rebuild Series, we’re diving into a step-by-step breakdown on how to properly clean your RC car. Whether you’re doing routine maintenance or rebuilding after a race weekend, this guide walks you through disassembly, cleaning, and reassembly to get your rig back to peak performance.
🧰 Tools & Materials You’ll Need
Before getting started, gather the following tools and supplies:
-
Cordless drill and hand driver
-
Microfiber towels
-
Simple Green
-
Air compressor (optional but helpful)
-
A dirty RC car in need of some love
🔧 Step 1: Body & Shock Removal
Start by removing your body shell. Normally, you'd remove the shocks too, but for this guide, we already handled that in a previous video. If you're doing it now, use a 5.5mm nut driver for the top and a 2.0mm hex for the bottom of the shocks.
🔩 Step 2: Remove the Front Clip
With your 2mm hex driver, detach the steering linkages and set your screws aside in a labeled tray or container.
Flip the car over and locate the following:
-
4 front clip mounting screws
-
Steering post screws
-
Chassis brace screws
Remove these and use an X-Acto knife to clean out any dirt-packed screw heads as needed.
⚙️ Step 3: Remove Bearings & Gearbox
Detach the sway bar and links, then remove the gear cover to access the differential. Carefully remove the differential and set it aside.
At this point, remove all bearings to avoid damaging them during cleaning. This includes:
-
Front pinion gear bearings
-
Gear case bearings
-
Axle bearings
Use your nut driver to hold the wheel hex while you remove set screws and slide the axles out.
🔬 Step 4: Bearing Inspection
Before cleaning, inspect all bearings for wear:
-
Spin them to check for grit
-
Look for popped seals or damage
Replace any bearings that feel rough or look worn. In our build, we only had one reusable bearing!
🧼 Step 5: Cleaning Time
If You Have an Air Compressor:
-
Spray Simple Green onto all components
-
Use compressed air to blow out dirt and dry the parts
-
Repeat until everything looks clean and dry
If You Don’t Have a Compressor:
-
Spray Simple Green on a microfiber towel
-
Wipe all surfaces by hand
-
Use small hex drivers to clean hard-to-reach spots
🪛 Step 6: Final Wipe Down
Back inside, use a clean microfiber towel to remove any remaining grime or grease the air may have missed—especially inside the gear case.
Wipe down axles and clean all major surfaces thoroughly.
🧱 Step 7: Reassembly Tips
A few key tips before you reassemble:
-
Keep axles on the same side they were removed from—this preserves wear patterns
-
Use thread lock on set screws (especially for the pinion gear)
-
Tighten the coupler so there's no forward/backward play in the pinion gear
-
Replace any worn bearings with fresh ones
Reinstall the differential, axles, and all cleaned components.
✅ Final Checks
-
Tighten sway bar end link screws
-
Clean and reattach your front bumper
-
Grease the differential before full reassembly
-
Reinstall the front clip using the reverse of your removal steps
And just like that—you’ve got a clean, refreshed front end ready to hit the track!
💬 Got Questions?
Drop them in the comments on our YouTube video or reach out to us at adrenalinercracing.com. We’re always here to help you get the most from your RC builds.
See you at the track! 🏁