
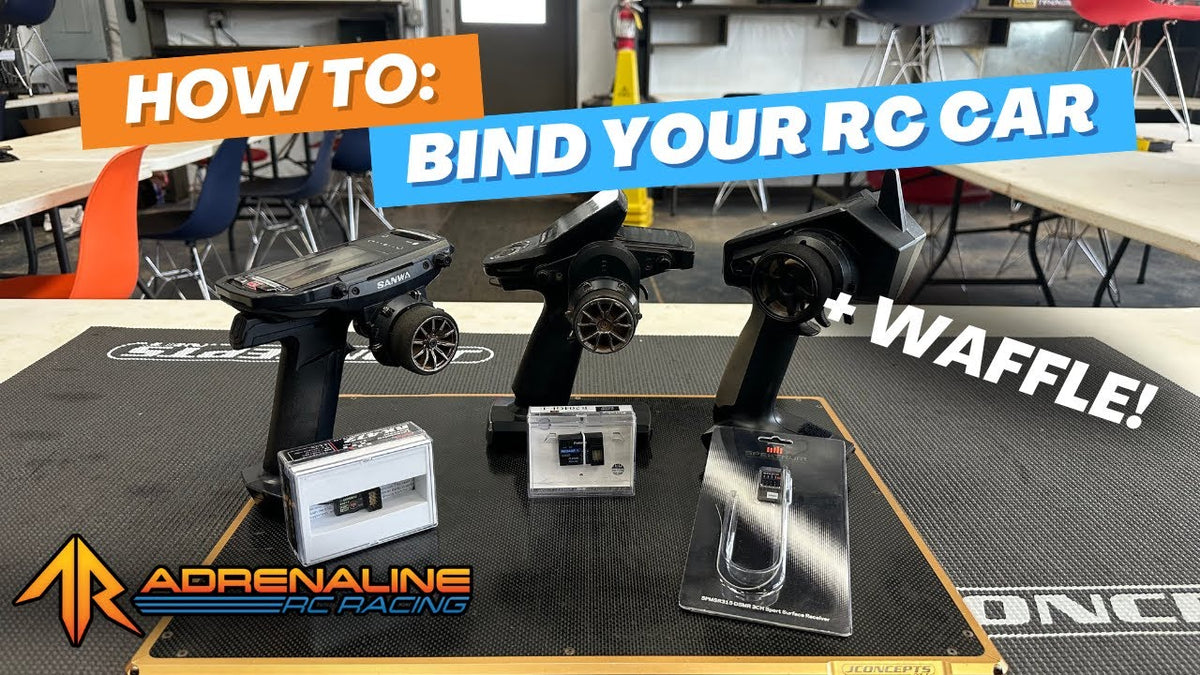
Before you dial in shocks, gearing, or tires, there's one step that has to happen first: your radio actually needs to talk to your receiver. If your transmitter isn't bound to the receiver in your RC car, nothing else you do to the car matters — the two simply won't communicate. In this guide, we're walking through exactly how to bind your radio to your receiver across the three most common systems on the market: Spektrum, Futaba, and Sanwa.
This guide follows along with our video below, where Jacob walks through binding five different receivers in real time — including the two most common Futaba protocols (T-FHSS and S-FHSS) and both major Sanwa binding methods (push-button and bind-plug). Watch the full video, then use the written steps below as your quick reference next time you're at the bench.
What You'll Need to Bind Your RC Radio
- Your RC radio (transmitter) — Spektrum, Futaba, or Sanwa
- A receiver that matches your radio's protocol
- A power source for the receiver (a receiver battery works great for bench binding before it's installed in the car)
- A bind plug — required for some receivers, like the Sanwa FH4T
- A small pointed tool (like a hex driver tip) for pressing recessed bind buttons
Every item on this list is available at Adrenaline RC Racing.
How to Bind a Spektrum Receiver
- Power on your Spektrum transmitter and navigate to System > Bind.
- Locate the small bind button on the receiver — it's marked with the Spektrum logo.
- Press and hold the bind button, then plug in the receiver's power source while continuing to hold the button. The receiver's LED will start flashing quickly, confirming it's in bind mode.
- On the transmitter, confirm/select Bind. The receiver LED will slow its flash rate, then go solid once the bind completes.
- The transmitter will briefly reset — that's normal. Your radio and receiver are now bound.
How to Bind a Futaba Receiver
Futaba receivers are most commonly found in two protocols — T-FHSS and S-FHSS. The process is similar, but each has its own quirks.
Binding a Futaba T-FHSS Receiver
- Plug the receiver's power source into a channel port (Channel 4 is a common choice) to power it up.
- Power on your Futaba transmitter and select the correct model.
- In the transmitter's link/bind menu, confirm the receiver type is set to T-FHSS.
- Press and hold the small bind/link button on the receiver.
- Select Link on the transmitter. Watch for the LED to flash red, then green, then settle to a solid green — that's your confirmation the bind was successful.
Binding a Futaba S-FHSS Receiver
- Plug in the receiver's power source. Unlike the T-FHSS receiver, the LED won't light immediately — that's expected.
- On the transmitter, switch the model's receiver type to S-FHSS.
- Press and hold the bind button on the receiver. The LED will begin flashing green.
- Keep holding until the LED goes solid — that confirms the radio and receiver are bound.
How to Bind a Sanwa Receiver
Sanwa's two most common receivers — the FH5 and FH4T — use different binding methods, so we're covering both.
Binding a Sanwa FH5 Receiver (Bind Plug)
- Plug the bind plug into the port labeled BIND on the receiver.
- Power on your Sanwa transmitter, go to System > Bind, and confirm the model is set to FH5 mode.
- Select Bind on the transmitter — it will begin sending a signal to the receiver.
- Plug in the receiver's power source, double-checking polarity before you connect it.
- Watch the LED — once it stops flashing, binding is complete. Pull the bind plug out.
- Confirm the bind by checking the transmitter's home screen for receiver voltage, and testing steering/throttle input.
Binding a Sanwa FH4T Receiver (Push-Button)
- On the transmitter, go to System > Bind and select FH4T mode.
- Locate the bind button on the receiver. Note that FH4T battery connectors fit tightly — take your time seating them evenly rather than forcing them in at an angle.
- Press and hold the receiver's bind button, then plug in the battery while still holding the button. This step takes two hands and a little patience — it's the fiddliest part of the process.
- The LED will flash briefly, then turn off, indicating the receiver is ready to pair.
- Press Bind on the transmitter. Once the LED goes solid blue, you're bound.
Tip: once your receiver is installed in a car with a power switch, this process is much easier — you won't need a free hand to hold the bind button while plugging in a battery at the same time.
Still Not Binding? A Few Things to Check
- Double-check the receiver protocol selected on your transmitter matches the receiver you're using (T-FHSS vs. S-FHSS, FH5 vs. FH4T, etc.) — a mismatch is the most common reason binding fails.
- Make sure your receiver battery has enough charge — a weak pack can cause an unreliable or failed bind.
- On bind-plug systems, confirm the plug is fully seated in the correct port before powering on.
- If a bind partially completes, unplug the receiver's power, back out of bind mode on the transmitter, and start the process again from step one.
Shop Radios, Receivers & Bind Plugs
Whether you're setting up a new radio system or replacing a receiver, we carry Spektrum, Futaba, and Sanwa systems along with the batteries, bind plugs, and accessories you need to get bound up and back on the track. Browse our full radio and electronics selection at Adrenaline RC Racing.