If you missed our front shock mounting locations video, go check that out first — these two guides work together to give you the full picture on shock tuning. Once you have both, you'll know exactly what to adjust and when every time you hit the track.
In this guide, Jacob walks through every rear shock mounting option: what each position does, why it does it, and when to actually use it on race day.
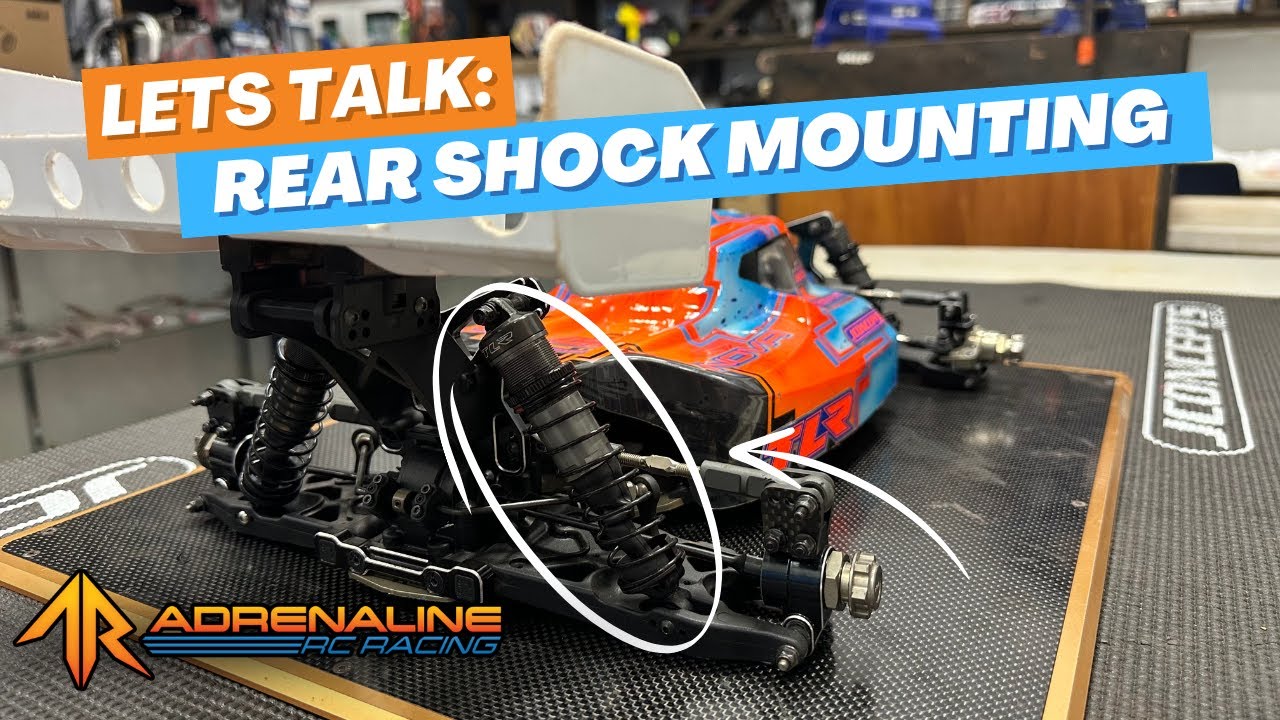
Watch the Full Video
Understanding Your Options
On most 1/8 buggies, you'll have four mounting holes on the rear shock tower and two to three on the rear arm. Some cars have more, some have less — but the concept is the same across the board. The tower holes run diagonally from outer (more upright shock) to inner (more leaned shock), and the arm holes give you an additional lean adjustment from the bottom.
There are two main variables at play: which hole you use on the tower controls how stood up or laid down the shock is, and which hole you use on the arm fine-tunes the lean angle from below. There's also a third variable — overall shock width — but we'll get to that at the end.
Rear Tower: Outer Holes (Shock Stood Up)
Moving to the outer holes on the tower stands the shock up more. As the car leans into the turn, the shock gets stiffer rather than progressively softer, meaning the outside tire can't roll into the track as well — so you'll have less mid-corner grip. What you gain is more traction on corner entry and a better square-up on exit. As you come out of the turn and transfer weight front-to-back, the upright shock lets the rear squat down, loading the tires and giving you stronger acceleration off the corner.
Best for: responsive, snappy handling on tighter technical tracks where rotation and corner exit traction matter most.
Rear Tower: Inner Holes (Shock Leaned In)
Moving to the inner holes leans the shock over. As the car rolls through the turn, the shock progressively softens rather than stiffening — letting the outside tire load up and stay planted. This gives you more steering into the corner and more mid-corner grip. The tradeoff is that you give up some front-to-back traction on exit, so the rear doesn't squat and accelerate as strongly coming off the corner.
Best for: smooth, high-grip tracks where you need the car to feel planted and stable through sweeping corners.
Rear Arm: Outer Hole (Shock Leaned Further)
The outer arm hole leans the shock more from the bottom, adding lateral stability and more side-to-side grip as the shock softens progressively on roll. The downside is it doesn't handle big bumps and jumps as effectively.
Best for: high-bite, smooth surface conditions where you're prioritizing stability and side grip over bump absorption.
Rear Arm: Inner Hole (Shock Stood Up More)
The inner arm hole stands the shock up from the bottom. This makes the shock more effective at handling front-to-back loading, so rough tracks and big jumps feel more controlled. You also get more corner exit traction as the rear squats on acceleration. The tradeoff is less side bite.
Best for: bumpier tracks and rough surfaces where you need the rear to stay composed over obstacles.
Shock Width: Narrow vs. Wide
Moving both the tower and arm positions inward or outward together keeps the same shock angle but changes the overall width of the setup. A narrower setup is more reactive side-to-side and allows more chassis roll. A wider setup is more stable, resists roll, and feels more planted at high speed.
A Note on Spring Rate
If you make a big change — especially a dramatic lean or stand-up — you may need to adjust your spring rate. A very leaned setup may need a softer spring; a very upright setup may need a stiffer spring. For minor adjustments, just reset your ride height, go drive it, and see how it feels before touching springs.
Quick Reference
Tower outer (stood up) → Less mid-corner grip, more entry and exit traction → Best for technical tracks and corner exit acceleration
Tower inner (leaned) → More mid-corner grip, more steering, less exit traction → Best for smooth, high-grip tracks and sweeping corners
Arm outer (leaned more) → More lateral stability, less bump absorption → Best for high-bite smooth surfaces
Arm inner (stood up more) → Better bump and jump absorption, more exit traction, less side bite → Best for rough and bumpy tracks
Narrow width → More reactive, more chassis roll → Best for nimble technical feel
Wide width → More stable, less roll → Best for high-speed stability
Want More Tuning Guides?
Drop a comment on the video with any adjustments you want Jacob to cover next — he reads every one. And if you want to put these changes to work, shop our full selection of RC shocks and shock components at adrenalinercracing.com.