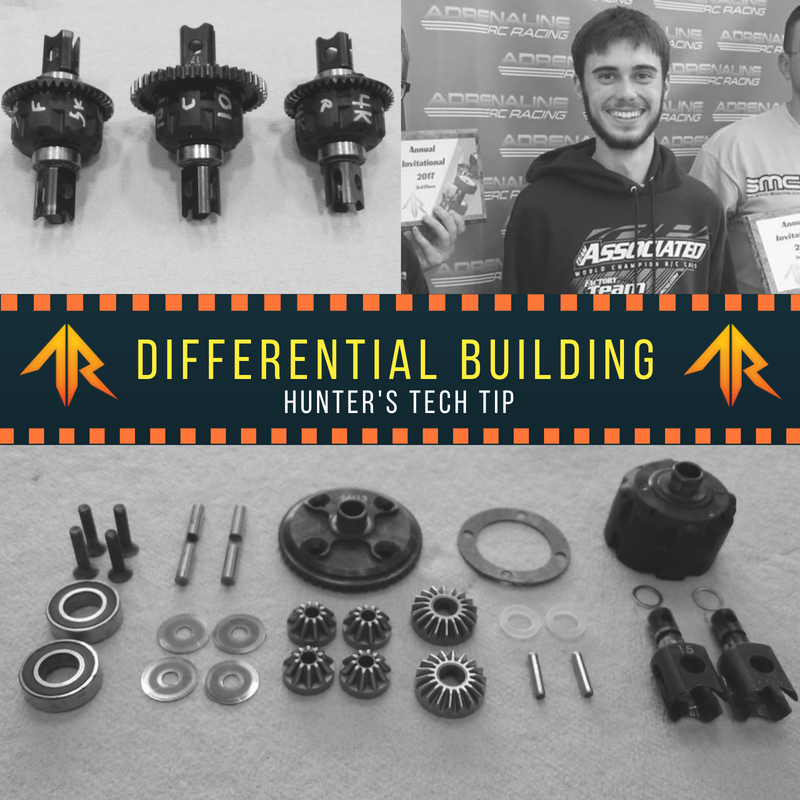
Welcome back for July's Tech Tip! This month Hunter is talking all about building, cleaning, and maintaining your differentials. Check out his process below!
Step #1:
Disassemble and clean your differential, simple green or other de-greasers are recommended. Try to get as much grease and dirt off as possible, a brush and air compressor makes this job way easier. Remove the 4 screws that hold the ring or spur gear onto the diff cup and drain the old oil. Next, you can remove the 2 cross pins, 4 planetary gears, and the 2 sun gears.

Note: Be sure to pay attention to how many shims and the condition of the shim that is behind each gear. Look for any imperfections in the shim such as “flaring” or “cracking,” if you see anything like that replace the shim.
Now you can remove the pin that is in your outdrive, just slide it out with needle nose pliers or another similar tool. The outdrive should come right out and you can also remove the o-ring that was under the pin. The only thing left is the bearings. When you remove the bearings, look for any problems, spin them, and see if they feel “crunchy” or have excessive “slop.” If so, replace them. Now that everything is apart, you can clean it again. On metal parts, use Brakleen or an electronic cleaner spray to remove any oily residue. For plastic parts, o-rings or bearings, stick to the Simple Green we used earlier.
Step # 2:
Find a fine grit sand paper (something around 1000 grit will work) lay it on a flat surface and slide the cup around it in a figure 8 pattern (see picture) until the glossy finish is all scuffed. This is making sure the cup is perfectly level and will get a good seal when its re-assembled. Normal driving conditions cause the differential to get hot and can cause warping, so this will help fix that as well. Next, place a couple of drops of bearing oil on each side of your bearings (any bearing oil works, I personally use 3-in-one). Get your two outdrives and two cross pins then coat them in a thin layer of grease (see picture). The black gear grease that comes with the kit will work or for that matter most gear greases will get the job done.


Step #3:
Re-assembly
Press your bearings back onto the diff cup and ring/spur gear. Then slide your outdrives back into place. You can put your o-ring back into the cup and over the outdrive shaft, also put any shims that were under the sun gear back and push the pin back through. While you're there, place a couple of drops of whatever weight diff fluid you are using onto the o-ring. This will lubricate the o-ring and help make sure the oil gets into every little spot. Now, its time to put the sun gears back in. When you put them back into place be sure that the pin sits into its slot on the bottom of the gear. Next, take your cross pins and put your planetary gears and shims back on. Place them back into their proper slots inside the diff cup, then you can add your oil.

Note: Just fill them up to be level with the cross pins and let that sit for a little while you rotate the outdrive. That will move the whole gear assembly to help the oil work its way into place.


After you do that, you will probably have to top off the oil. Almost done! Now we just need to place the gasket back into the ring/spur gear. When you set it into place, it helps to have a couple drops of grease to hold the gasket into place (see pictures). Make sure your screw holes line up with the holes in the gear.


Step #4:
Place the other half of the differential back onto the cup. Again, make sure to align the screw holes. Now, you can start to put the screws back in. Put all 4 screws in, barely snug, then come back around and tighten them in a criss cross pattern (see picture for number order). Go around doing that pattern a couple times until all are tight. Now, you have a fresh completely rebuilt differential!

Quick tip: Take a silver sharpie to mark on the cup what weight fluid you used and which differential it is such as front, center or rear.


1 comment
mArk muller
Good info, i didn’t know about sanding the diff cup.